What Happens Inside a Rigid Box Production Line
For B2B buyers evaluating custom packaging, understanding the manufacturing process is not optional — it is a prerequisite for making informed sourcing decisions. This article breaks down the major stages of rigid box manufacturing, from raw board to finished packaging, and explains how these processes work together to deliver consistent results.
For B2B buyers evaluating custom packaging, understanding the manufacturing process is not optional — it is a prerequisite for making informed sourcing decisions. A rigid box appears simple from the outside, but its production involves a sequence of interdependent operations where each step directly affects the structural integrity and visual quality of the final product. This article breaks down the major stages of rigid box manufacturing, from raw board to finished packaging, and explains how these processes work together to deliver consistent results.
Board Preparation: Selecting the Structural Foundation
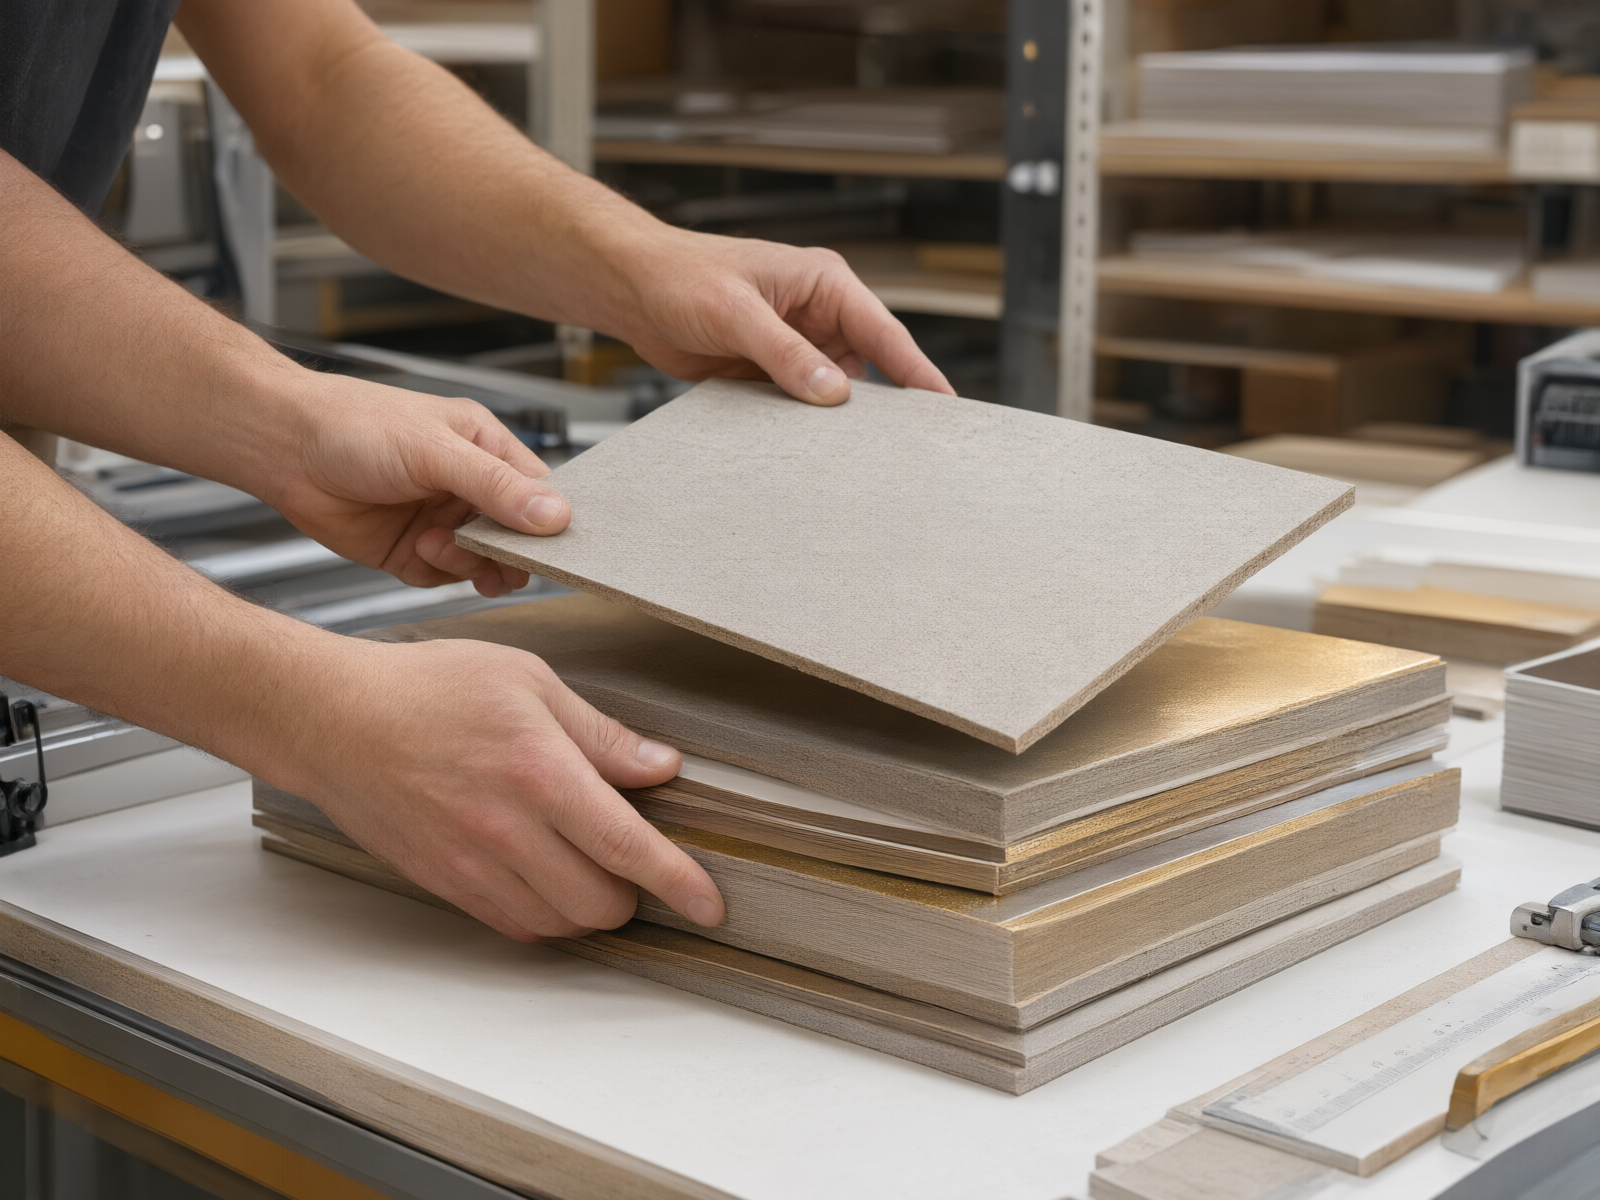
Every rigid box begins with board selection. The most common material is chipboard, measured in grams per square meter (gsm). For luxury packaging, manufacturers typically use chipboard ranging from 1200gsm to 1500gsm, with thicker boards providing greater rigidity and a more premium hand feel. The board must be flat, free of warping, and cut to precise dimensions before any further processing.
At this stage, the board is also evaluated for moisture content and surface smoothness. Excess moisture can cause warping during later heat-intensive processes like lamination, while a rough surface affects print adhesion. Quality control at the board preparation stage prevents defects from propagating through the entire production line.
V Grooving: Creating Precision Fold Lines
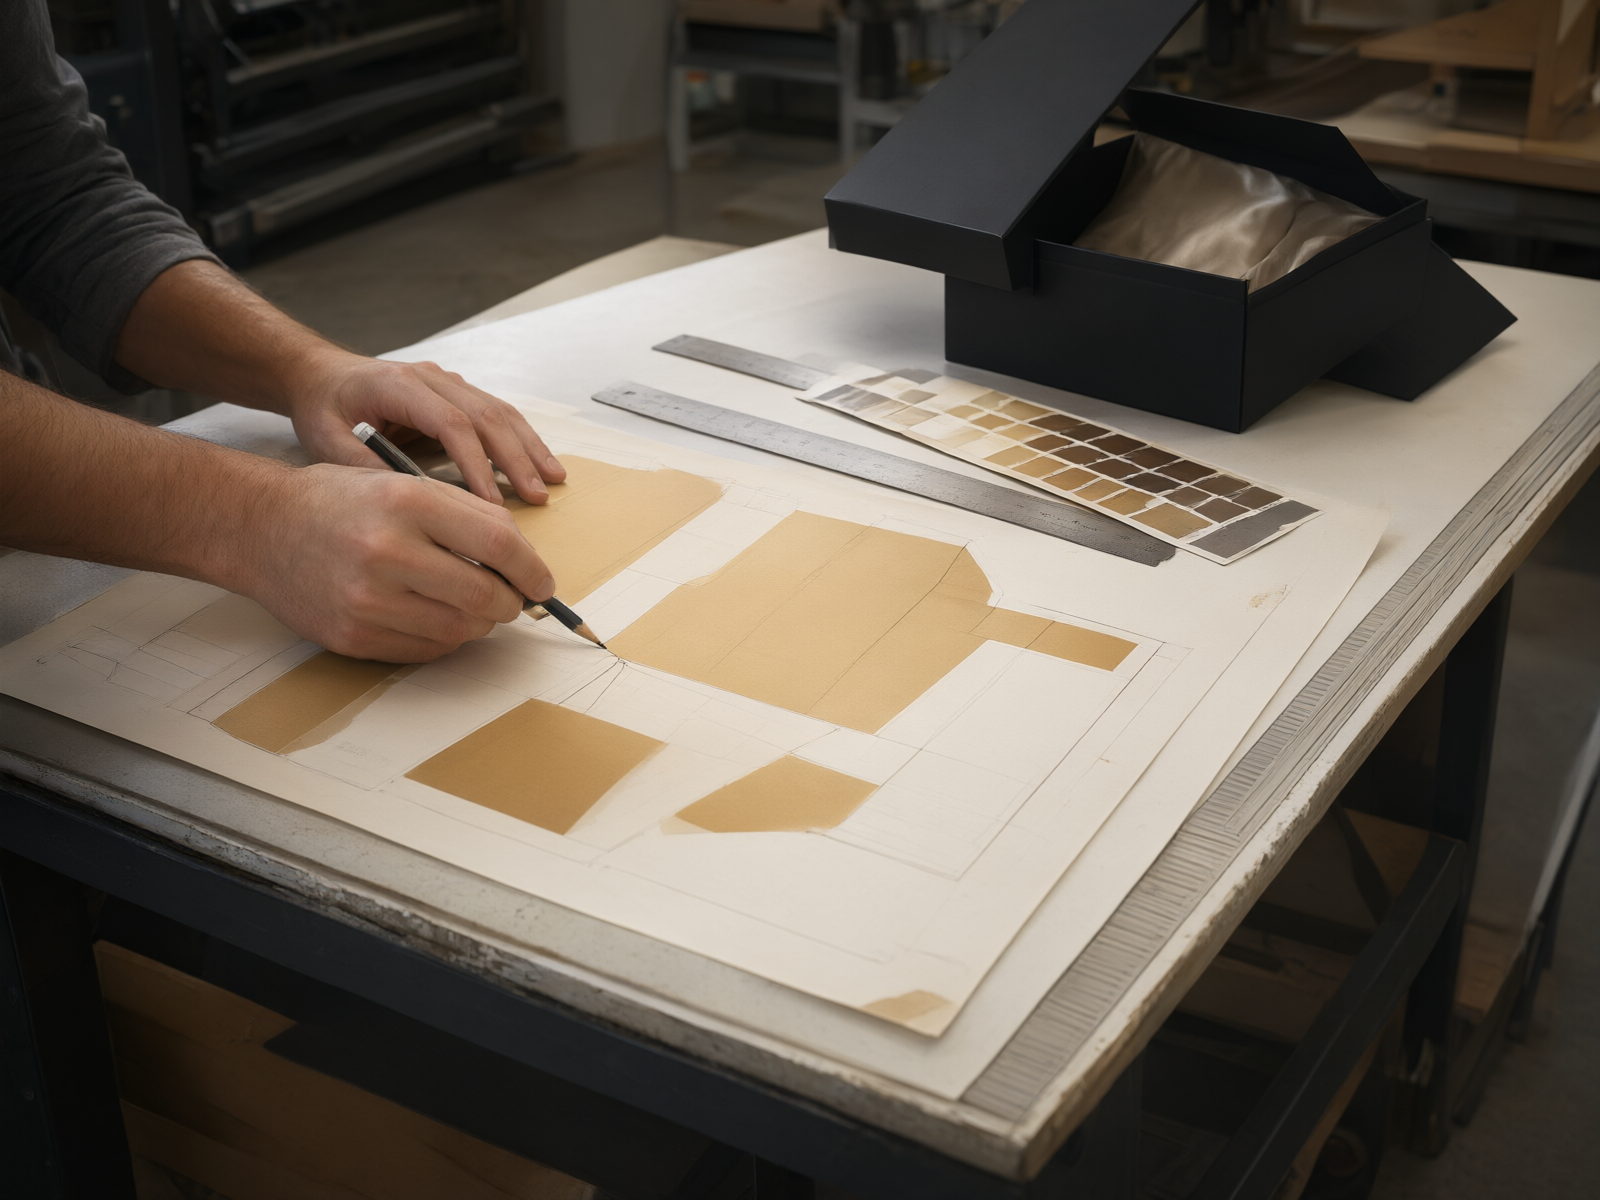
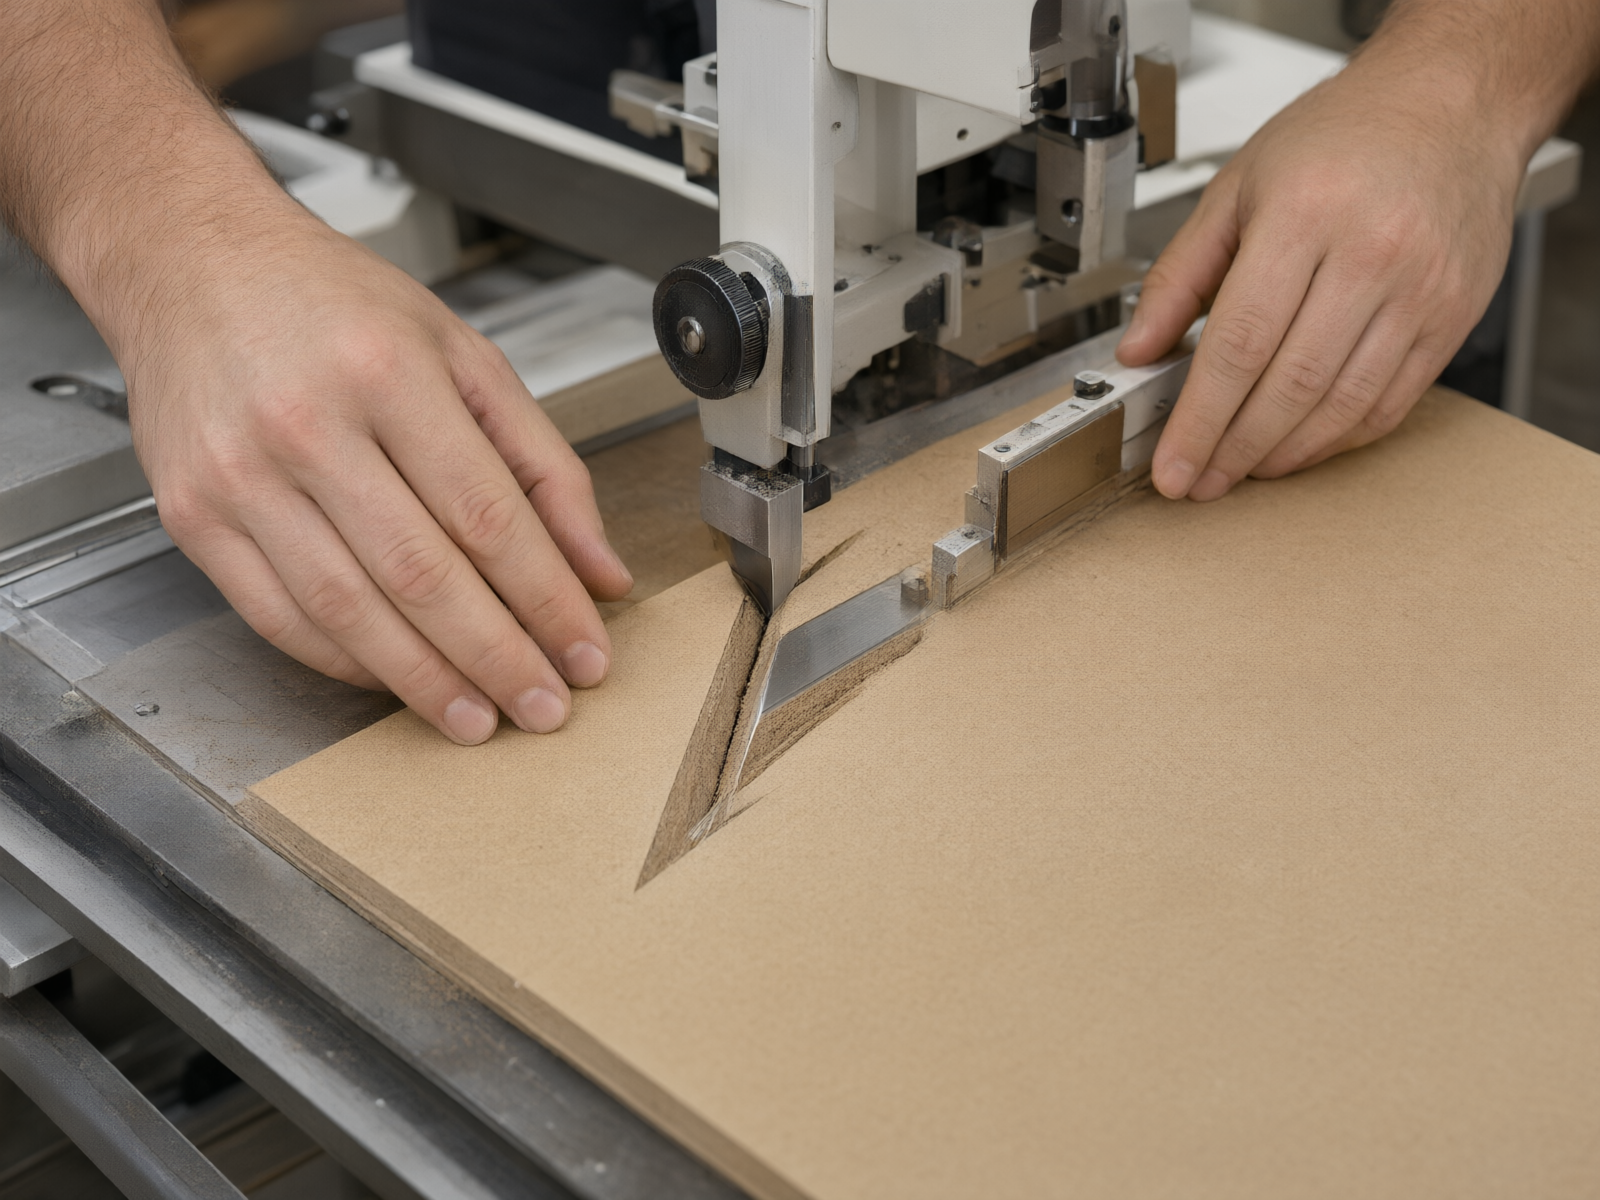
Once the board is cut to size, the next critical operation is V grooving. This process uses a specialized cutting tool to create narrow, V-shaped channels along the fold lines of the box. The groove removes a small amount of material, allowing the board to fold cleanly without cracking or bulging at the corners.
The depth and width of the V groove must be calibrated to the board thickness. A groove that is too shallow will result in stiff folds and visible stress marks; a groove that is too deep compromises the structural integrity of the corner. Precision V grooving is what separates a box with sharp, clean edges from one with rounded, uneven corners. This operation directly determines the box's ability to maintain its shape during handling and shipping.
Wrapping Paper: The Visual Surface
While the chipboard provides structure, the wrapping paper defines the box's visual identity. The wrapping paper is typically art paper, textured paper, or specialty stock, selected based on the brand's aesthetic requirements. For high-end packaging, manufacturers often use papers with specific finishes — matte, glossy, or textured — to achieve the desired tactile experience.
The wrapping paper is printed, finished, and then wrapped around the chipboard structure. The paper must be cut with precision to allow for clean folds at the edges, with minimal overlap and no visible seams. The adhesive used to bond the paper to the board must provide strong, permanent adhesion without causing wrinkles or bubbles on the surface.
Printing: Color Accuracy and Brand Consistency
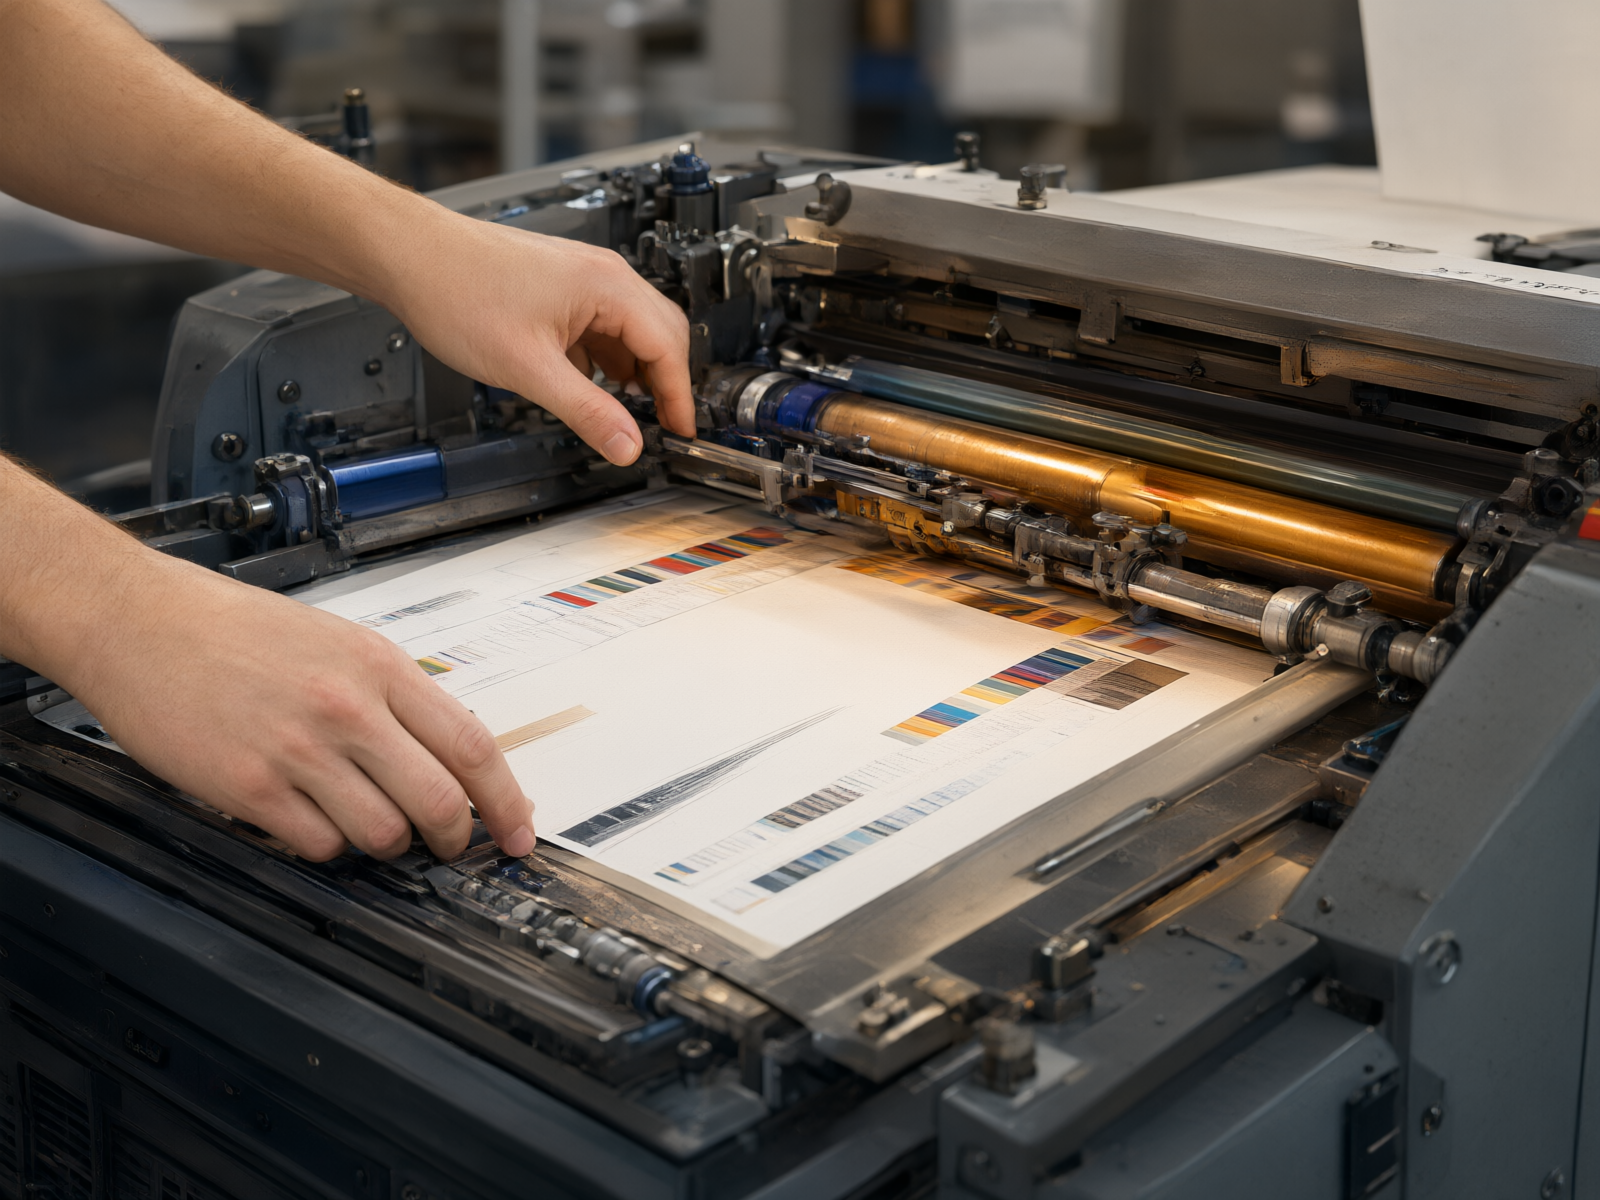
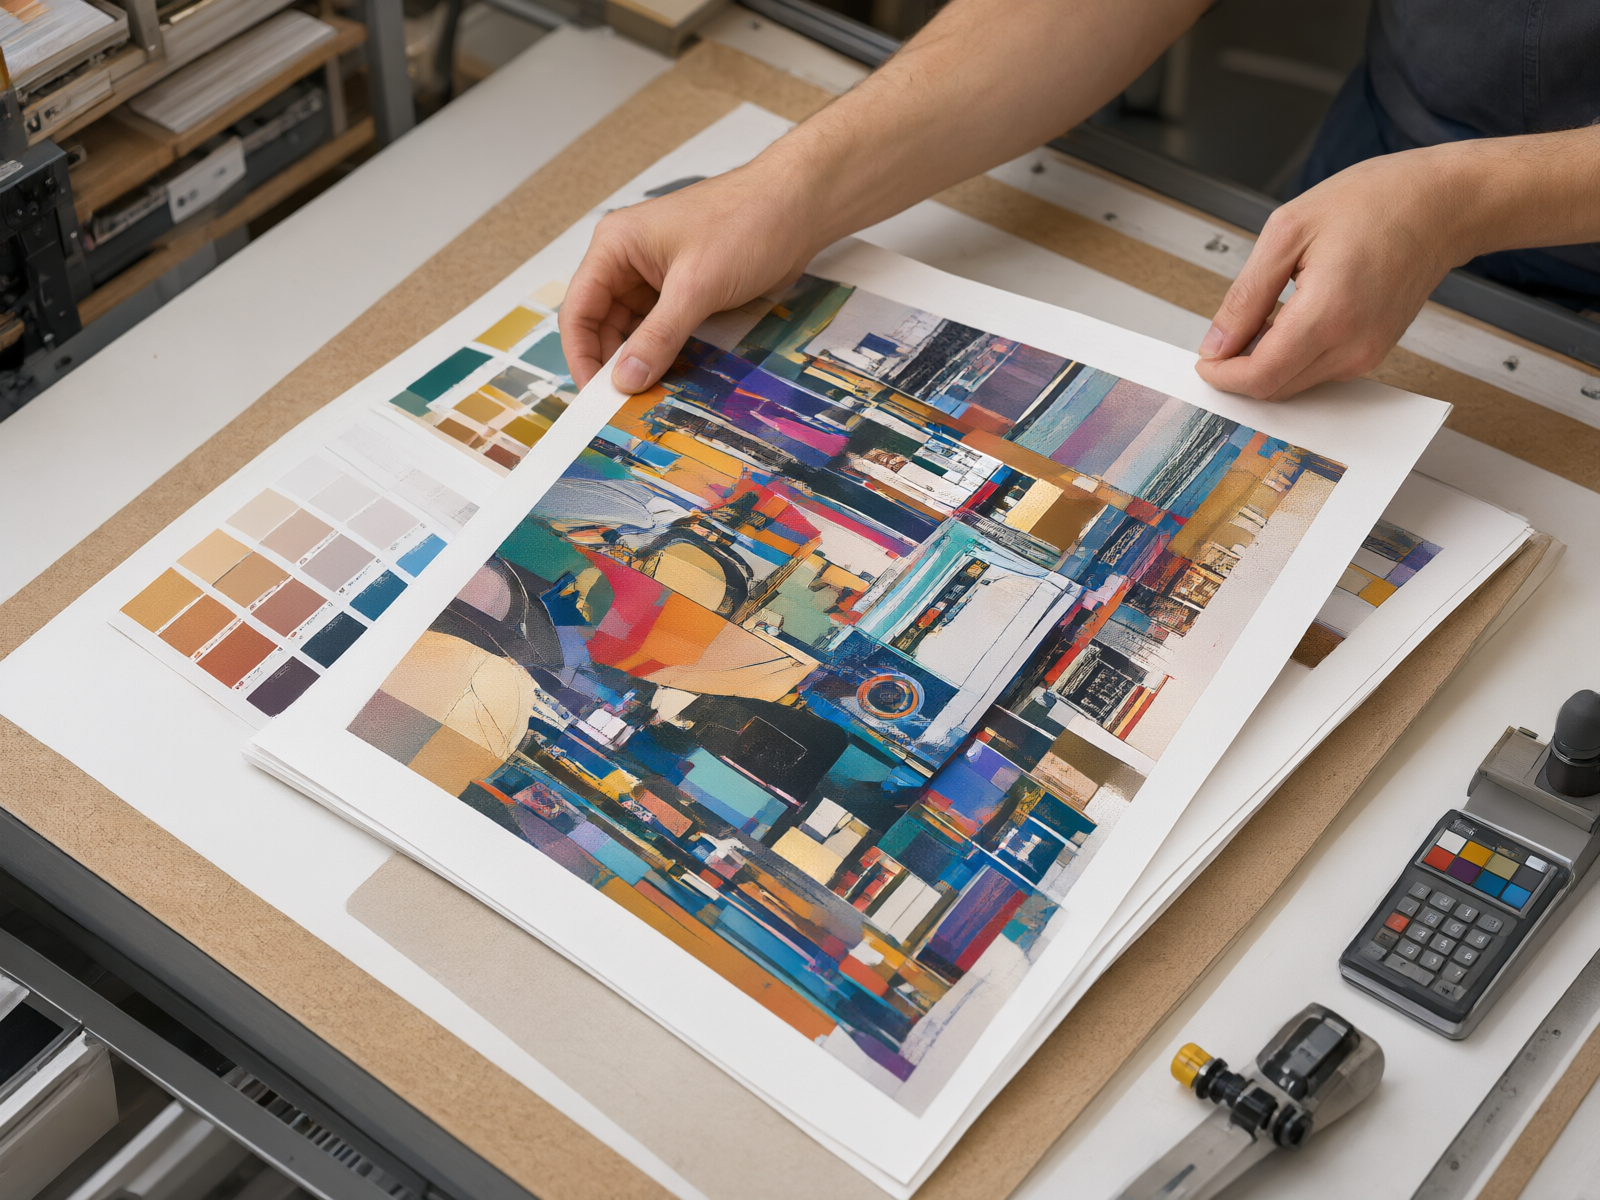
Printing is where the brand's visual identity is transferred to the packaging. Most rigid box production uses CMYK offset printing, which allows for high-resolution graphics and accurate color reproduction. For brand-critical colors, Pantone spot colors are used to ensure exact matching across production runs.
The printing process requires careful calibration of ink density, registration, and drying time. Misalignment between color plates results in blurred images or shifted text, while improper ink density leads to colors that appear washed out or oversaturated. Printing is performed on the wrapping paper before it is attached to the board, ensuring that the graphics are applied to a flat, stable surface.
Finishing: Surface Enhancement and Protection
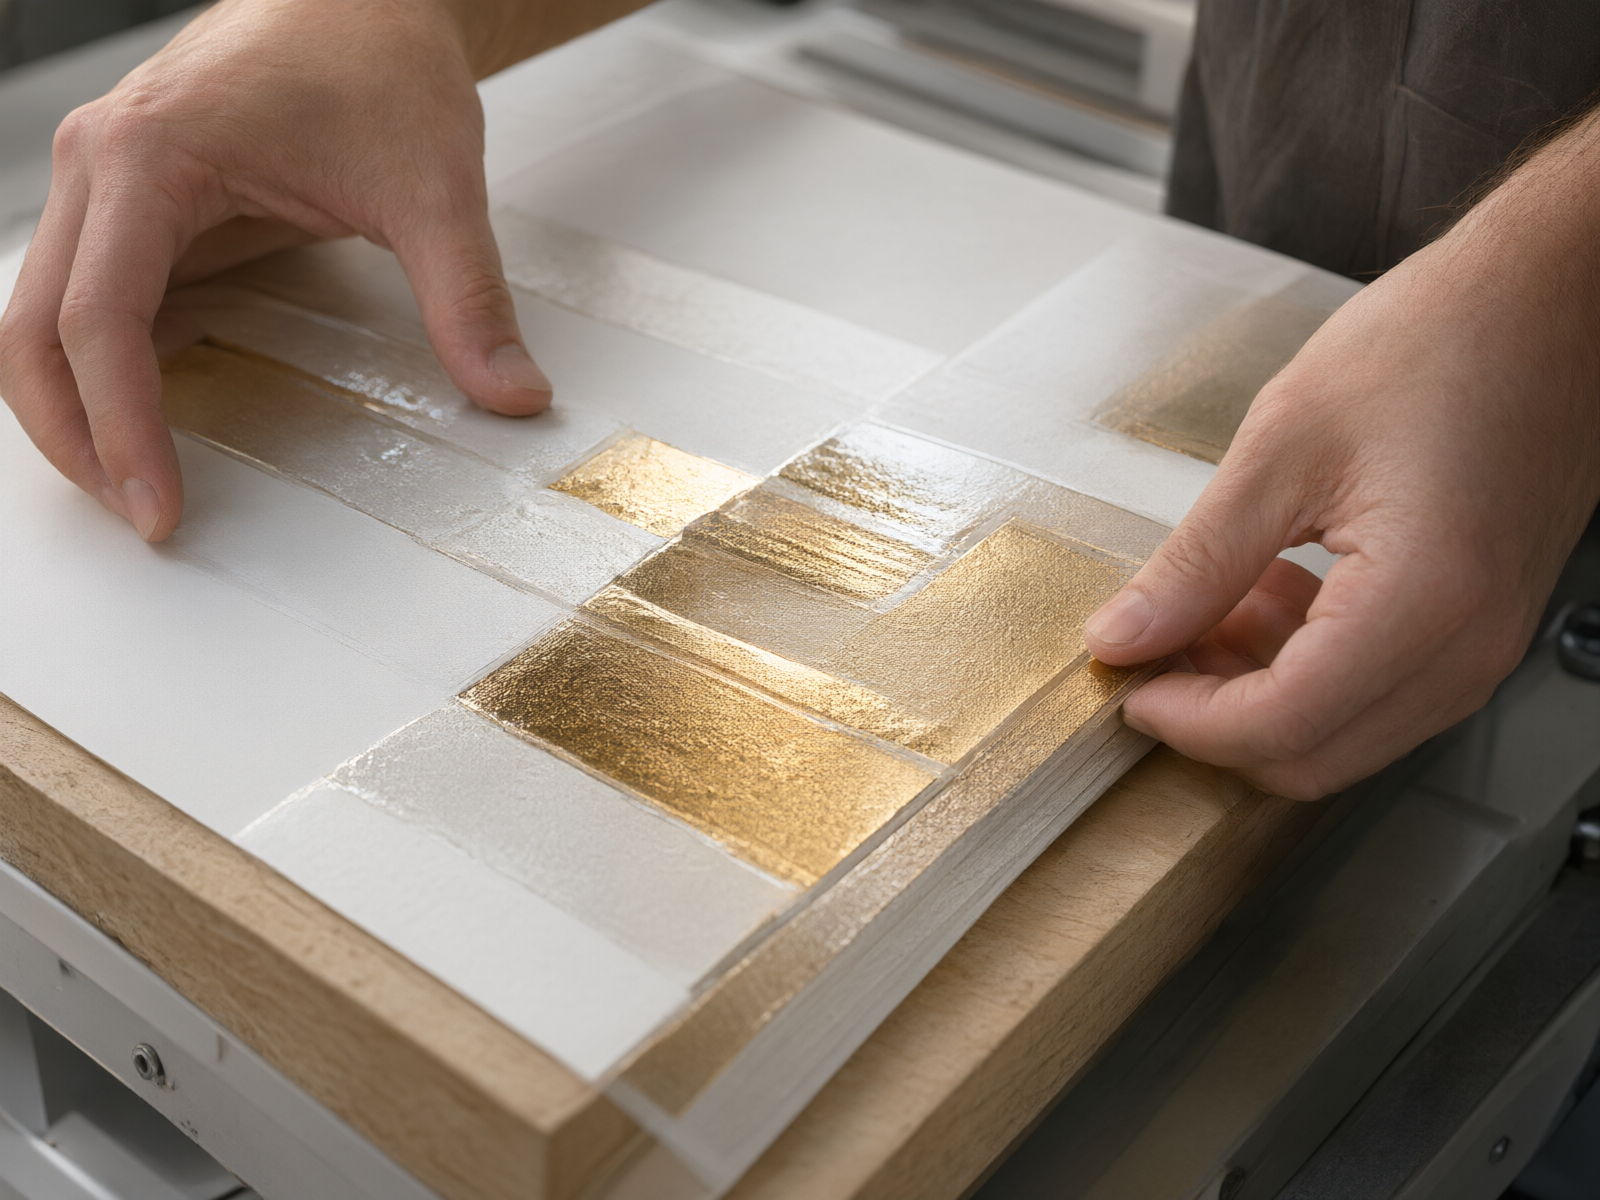
After printing, the wrapping paper undergoes finishing processes that enhance both appearance and durability. The most common finishing operations include lamination, hot foil stamping, and spot UV coating.
Lamination applies a thin plastic film (matte or glossy) to the printed surface, providing protection against scuffing, moisture, and fingerprints. Hot foil stamping uses heat and pressure to transfer metallic or pigmented foil onto specific areas of the design, creating a premium, reflective effect. Spot UV coating applies a high-gloss, raised varnish to selected areas, adding contrast and tactile interest.
These finishing processes are not merely decorative. Lamination extends the packaging's lifespan by protecting the print from abrasion during handling. Foil stamping and spot UV create visual hierarchy, guiding the consumer's attention to key brand elements.
Folding and Box Forming: Structural Assembly
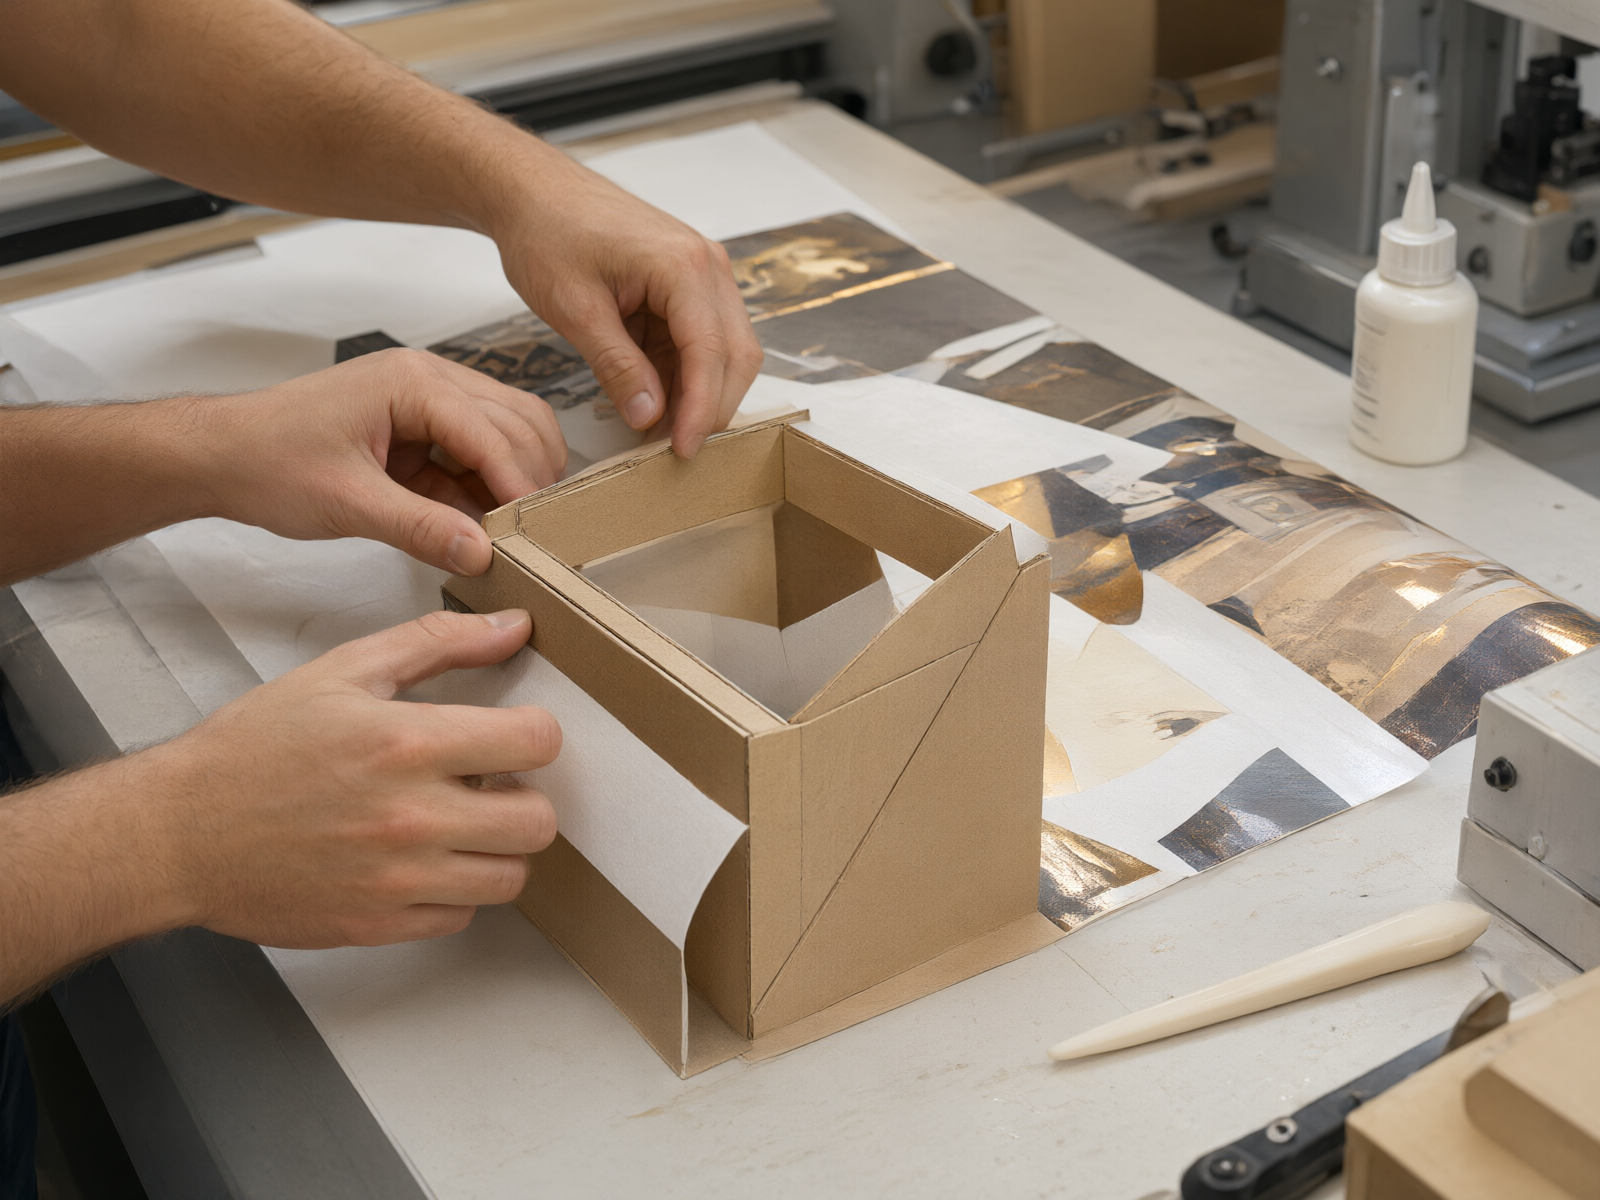
Once the wrapping paper is printed and finished, it is ready to be wrapped around the chipboard structure. The folding and box forming stage is where the flat components are transformed into a three-dimensional box.
The chipboard, with its V-grooved fold lines, is folded into the box shape. The printed and finished wrapping paper is then carefully aligned and wrapped around the board, with adhesive applied to secure the paper to all surfaces. The edges are folded inward and glued to create clean, finished edges.
This stage requires precise alignment. If the wrapping paper is misaligned by even a millimeter, the edges will be uneven, and the box will appear poorly constructed. Automated folding machines can achieve consistent results at scale, but complex box designs often require manual assembly to ensure quality.
Assembly and Inspection: Final Quality Control
The final stage involves assembling any additional components — such as inserts, magnets, ribbons, or hinges — and conducting a comprehensive quality inspection. For boxes with magnetic closures, the magnets are embedded into the board during assembly. For boxes with custom inserts (foam, cardboard, or molded pulp), the inserts are fitted to ensure a snug, secure fit for the product.
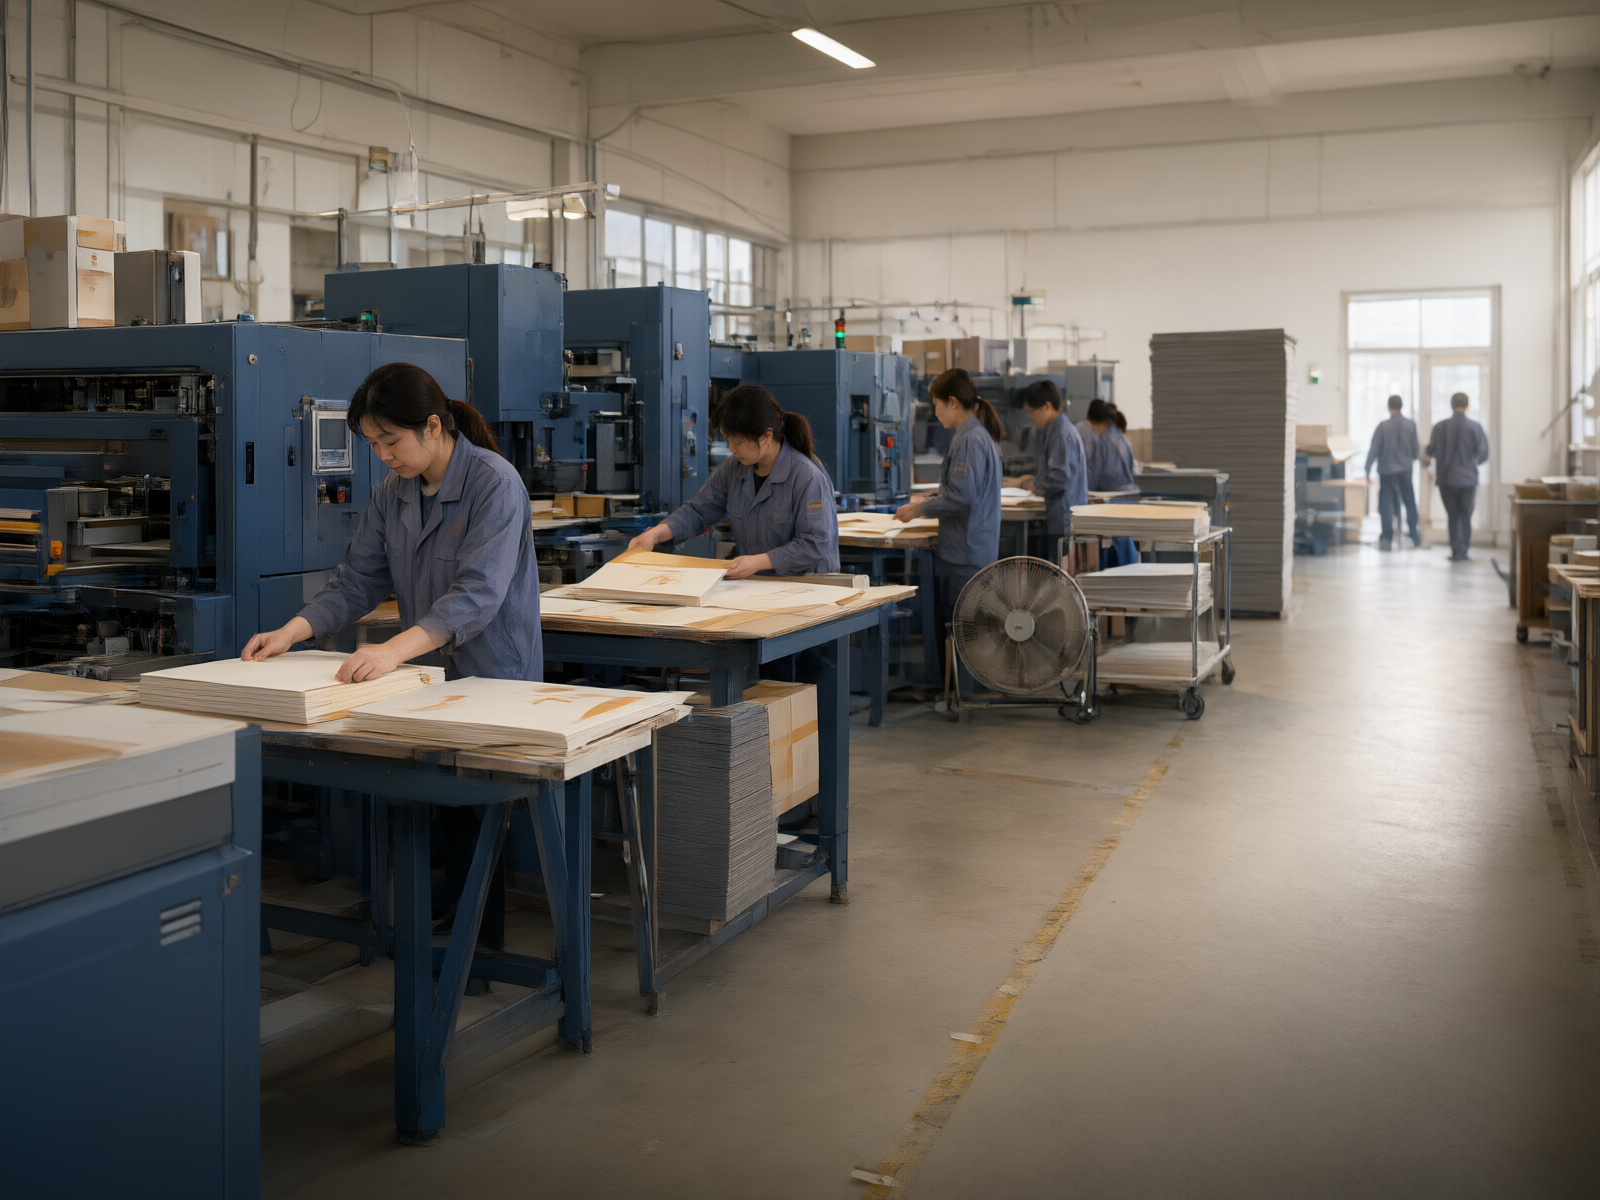
Quality inspection at this stage is multi-point. Inspectors check for structural integrity (corners are square, folds are clean), visual defects (printing alignment, finishing consistency, surface blemishes), and functional performance (magnets close securely, hinges operate smoothly, inserts fit properly). Any box that fails to meet quality standards is removed from the production line.
This rigorous inspection process is what ensures consistency across large production runs. For B2B buyers, it means that the 500th box in a production batch will meet the same quality standards as the first.
How the Processes Work Together
Rigid box manufacturing is not a series of isolated operations. Each stage depends on the quality and precision of the previous one. Board preparation determines how well the box will hold its shape. V grooving determines how cleanly the box will fold. Printing and finishing define the visual quality. Assembly and inspection ensure that the final product meets specifications.
When these processes are executed with precision and coordinated effectively, the result is a rigid box that protects the product, communicates brand value, and delivers a premium unboxing experience. For B2B buyers, understanding this process is the first step in selecting a packaging manufacturer capable of delivering consistent quality at scale.
Interested in Custom Paper Tube Packaging?
Send us your specifications and get a detailed quote within 24 hours.
Get a Free Quote